
Building a webhook system often starts out feeling deceptively simple. Your application performs an action, packages some data into JSON, and sends an HTTP request to another application. At first, it seems like just another API call.
Then your product grows. A customer's endpoint starts returning 500 Internal Server Error. Another endpoint takes 30 seconds to respond. A network interruption causes deliveries to fail. Someone asks whether webhook payloads are signed. Another customer wants to replay missed events after recovering from an outage. Suddenly, sending an HTTP request isn't the difficult part anymore. Managing retries, failures, signatures, delivery logs, observability, event ordering, and reliability becomes the real challenge.
That's exactly why Convoy exists.
Convoy is a webhook gateway that helps engineering teams publish, deliver, monitor, and manage webhooks reliably without building the infrastructure themselves. Instead of maintaining queues, retry mechanisms, delivery tracking, and monitoring from scratch, you can rely on Convoy to handle the heavy lifting while your team focuses on building products.
One of the things that makes Convoy different is that you're not locked into a single deployment model.
If you want the fastest path to production, you can use Convoy Cloud. We manage the infrastructure, upgrades, scaling, and maintenance so you can start delivering webhooks in minutes. But for many teams, running infrastructure inside their own environment isn't optional. Banks, healthcare providers, government agencies, and enterprise organizations often have strict compliance, networking, or data residency requirements that make self-hosting the preferred choice.
That's why Convoy is also available as a self-hosted deployment. Running Convoy yourself gives you the same webhook infrastructure while allowing you to control where it runs, how it's secured, how it's monitored, and when it's upgraded.
In this guide, we'll walk through setting up Convoy locally using Docker Compose. Along the way, we'll explain what's happening behind the scenes so you're not just following commands, you'll understand how the different pieces fit together.
By the end of this guide, you'll have:
- A local Convoy instance running on your machine
- The dashboard and API accessible in your browser
- Background workers processing webhook deliveries
- PostgreSQL and Redis configured
- Prometheus collecting metrics
- A webhook successfully delivered to Convoy Playground
More importantly, you'll have a solid understanding of the components that make up a self-hosted Convoy deployment.
Before You Begin
Deploying to Kubernetes instead? This guide covers self-hosting Convoy with Docker Compose, which is the recommended path for local development and evaluation. If you'd rather deploy to Kubernetes, follow Deploying Convoy in a K8s Cluster instead.
Before we get started, make sure you have the following installed on your machine:
- Docker Desktop
- Docker Compose
- Git
- A code editor such as Visual Studio Code
- A terminal
Docker Desktop should be running before executing any of the commands in this guide. If Docker isn't running, you'll likely see an error similar to:
Cannot connect to the Docker daemon...
This usually means Docker hasn't started yet rather than an issue with Convoy itself.
Clone the Repository
Let's start by cloning the Convoy repository.
git clone https://github.com/frain-dev/convoy.git

cd convoy
The first command downloads the source code from GitHub, while the second moves into the project directory.
Please open in your preferred IDE, however if you're following along in Visual Studio Code, you can open the project by running:
code .
Understanding the Project Structure
Before we start anything, it's worth taking a quick look at a few important files. Don't worry, you don't need to understand the entire repository to self-host Convoy.
docker-compose.yml
This file is the blueprint for your local environment.
It tells Docker:
- Which services to start
- Which ports to expose
- Which containers depend on each other
- Which networks to create
- Which volumes should persist data
When you later run docker compose up, Docker simply follows the instructions defined in this file.
convoy.json
This file contains Convoy's runtime configuration.
It includes settings such as:
- PostgreSQL connection details
- Redis configuration
- Server ports
- Storage settings
- License configuration
If this is your first time running Convoy, create it from the example file:
cp convoy.json.example convoy.json
Open convoy.json and verify the database, Redis, and server configuration.
If you're using Convoy Enterprise, this is also where you'll configure your license key.
Starting Convoy
Everything is ready. Let's start the entire environment.
From the project root, run:
docker compose up -d
The first time you execute this command, Docker may take a few minutes to download the required images. Once everything has been pulled, Docker creates a private network for the containers, provisions the required volumes, and starts each service. Unlike a traditional application where everything runs in a single process, Convoy is made up of several services working together.
As Docker Compose starts, you'll notice services such as PostgreSQL, Redis, the Convoy Web service, the Agent, Prometheus, and a migration service being created. You can verify that everything started successfully by running:
docker ps
Or by opening Docker Desktop.
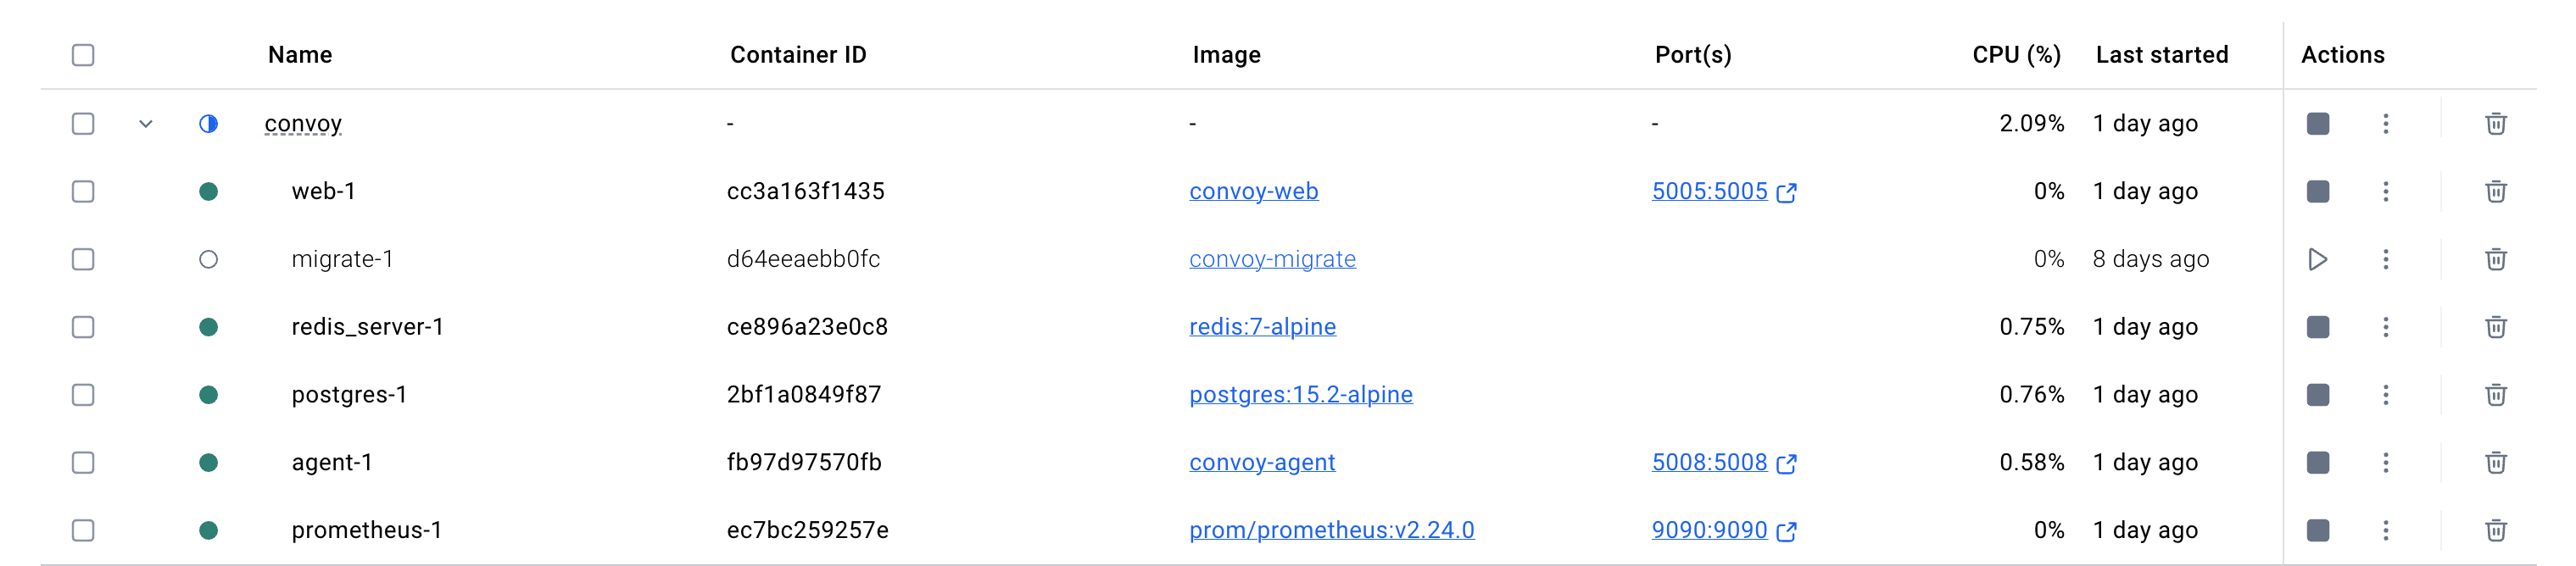
Docker Desktop showing the Convoy services running locally.
One of the first things new users notice is that one container behaves differently from the others.
While most services remain running, you'll probably see something like this:
migrate-1
Exited (0)
If you've never worked with database migrations before, this can look alarming. In reality, it's exactly what you want to see. The migration service has one responsibility: prepare the database before Convoy starts. When it launches, it checks the current database schema, applies any pending migrations, and exits once the work is complete. An exit code of 0 means the process completed successfully.
If you'd like to verify this yourself, inspect the migration logs:
docker compose logs migrate
You should see output indicating that the migrations completed successfully. You can also open the container logs on Docker.
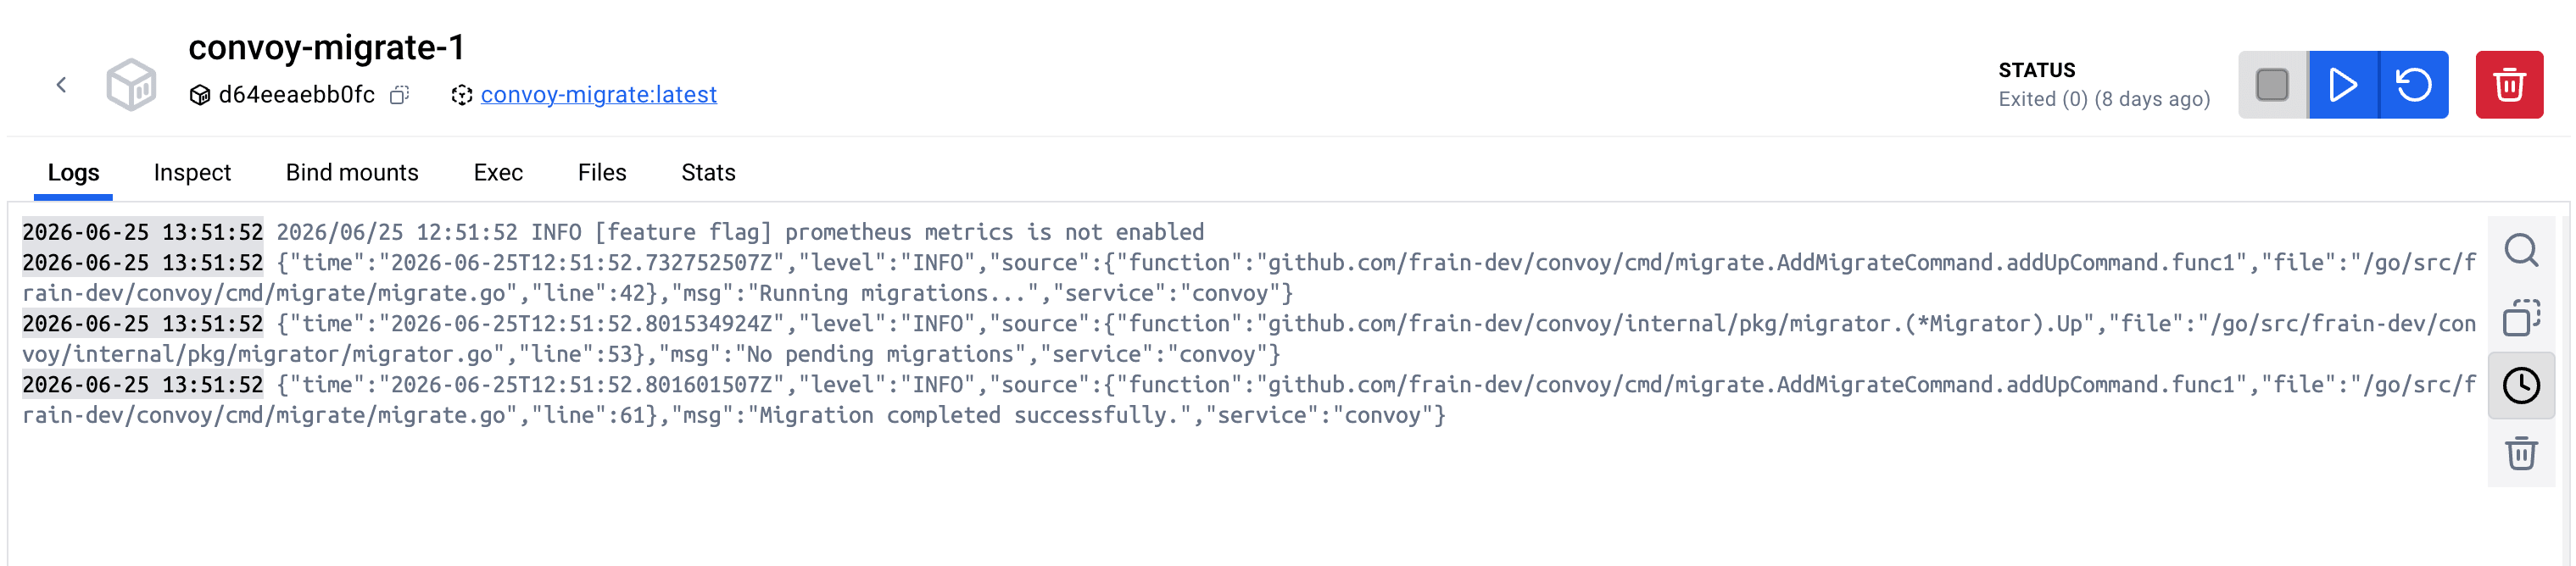
The migration container exits after successfully preparing the database.
Opening Convoy for the First Time
With all the services running, it's time to see Convoy in action. Open your browser and navigate to:
http://localhost:5005
If everything started successfully, you should see the Convoy login page. Login using the following credentials.
username: [email protected]
password: default
Congratulations, you've just deployed your own webhook infrastructure locally. It might not seem like much at first glance, but behind that dashboard are multiple services working together to accept events, process deliveries, store data, and monitor the health of the system. This is the same architecture you'll eventually deploy to staging or production. The only difference is that everything is currently running on your laptop.
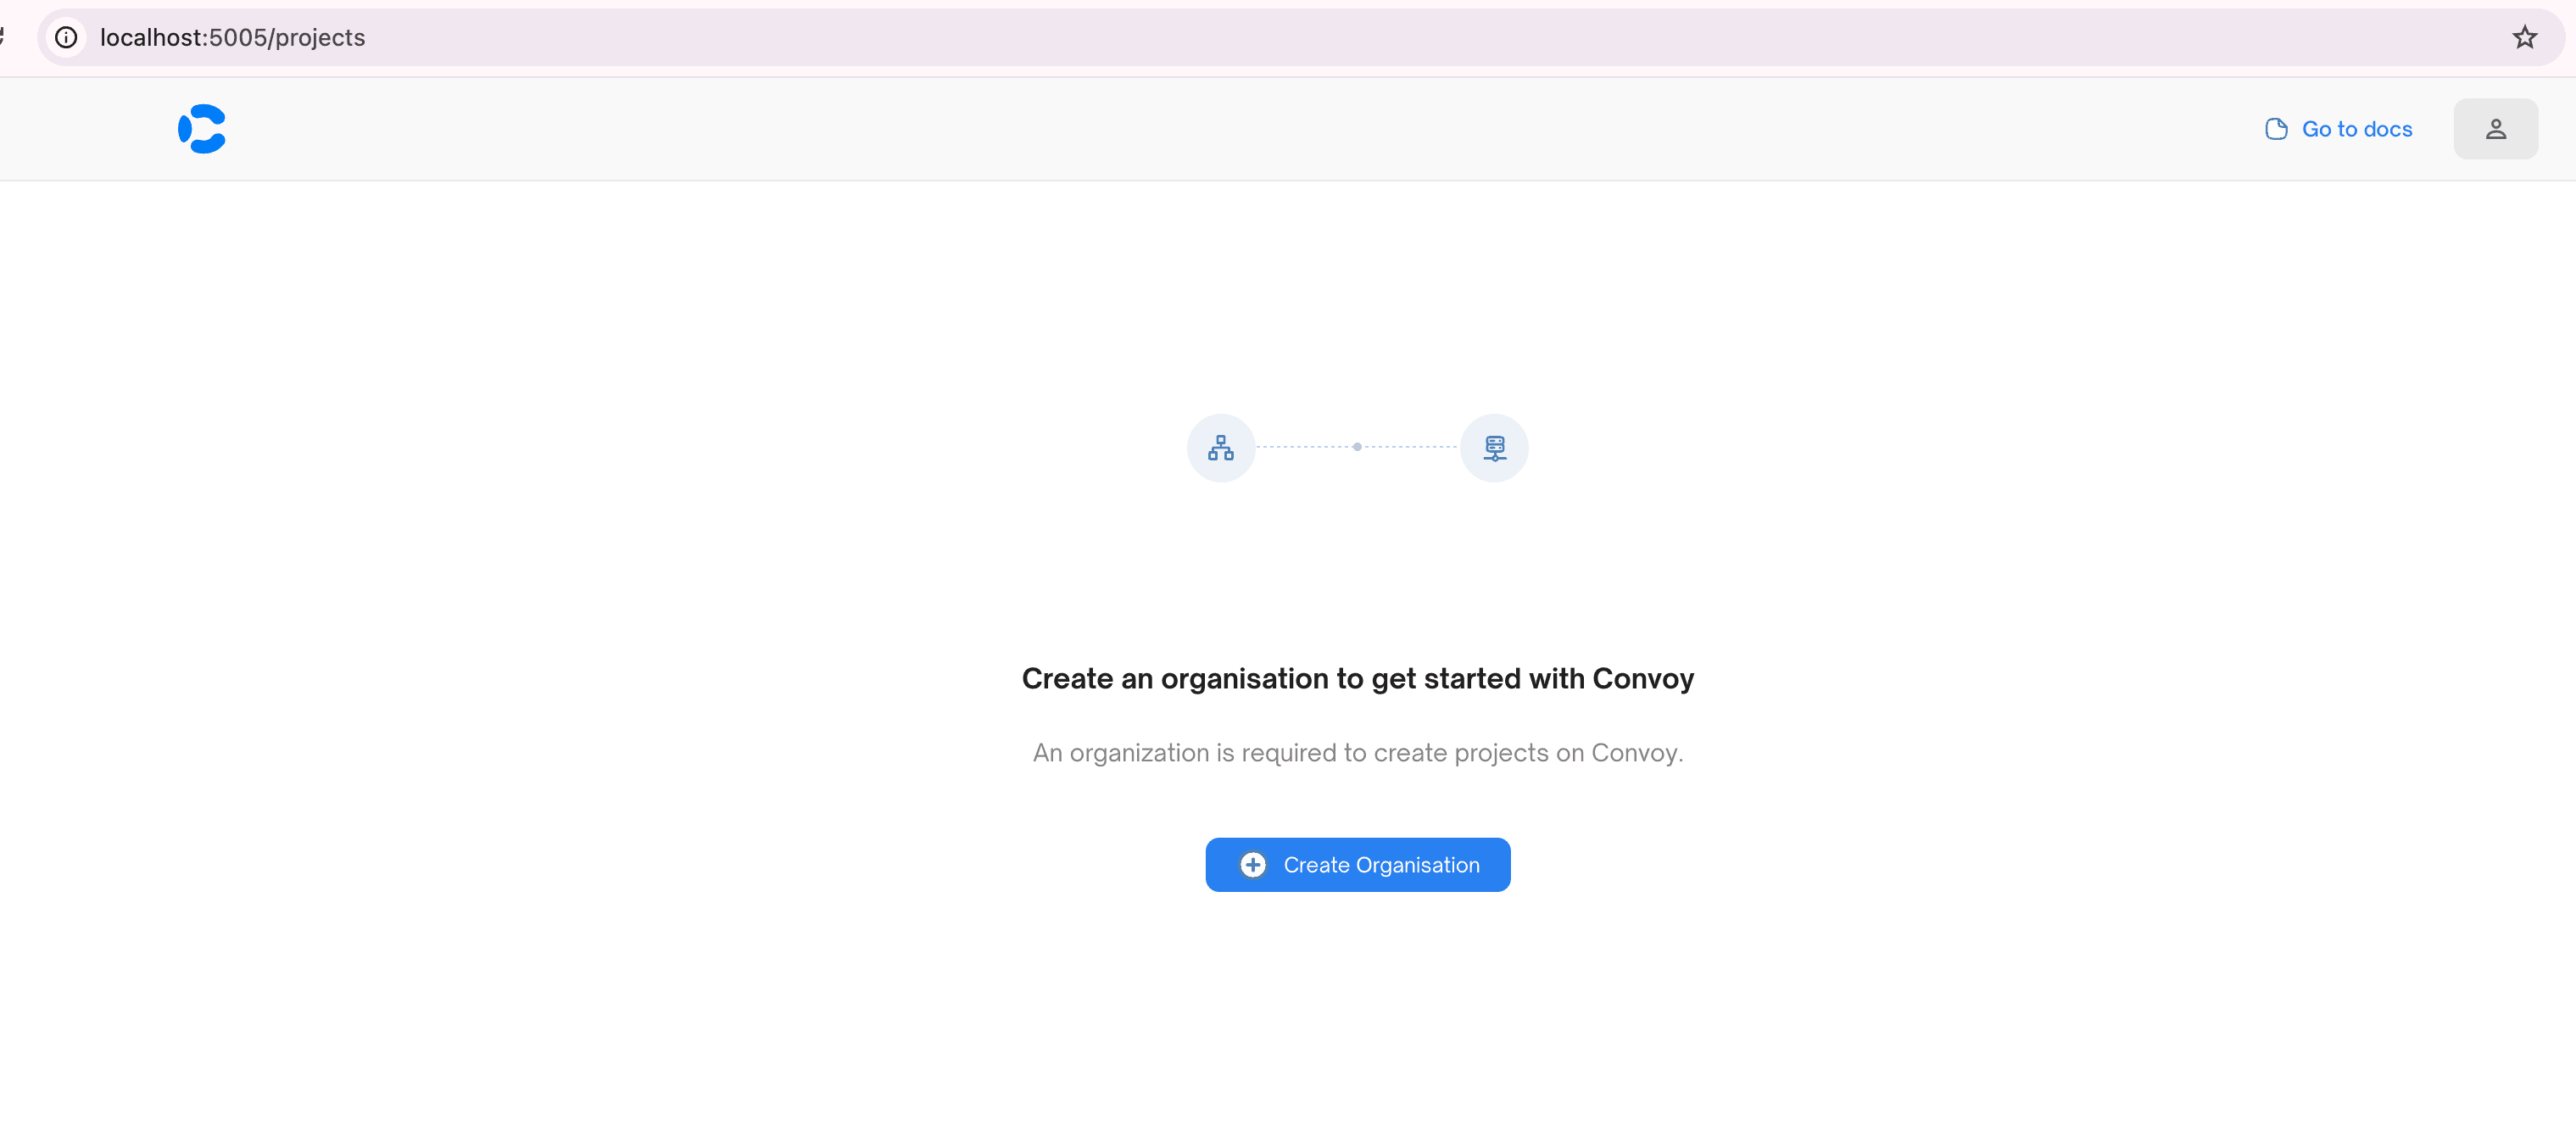
The Convoy dashboard running locally on port 5005.
Creating Your Organization
The first time you launch Convoy, you'll be prompted to create an Organization. If you've used platforms like GitHub, Atlassian, or Slack, the concept will feel familiar. An Organization is your top-level workspace. It represents your company or team and groups together all of the projects you'll manage within Convoy.
For this guide, you can use any name you like. We'll use Acme Inc.
Once created, you'll be taken to your organization's dashboard.
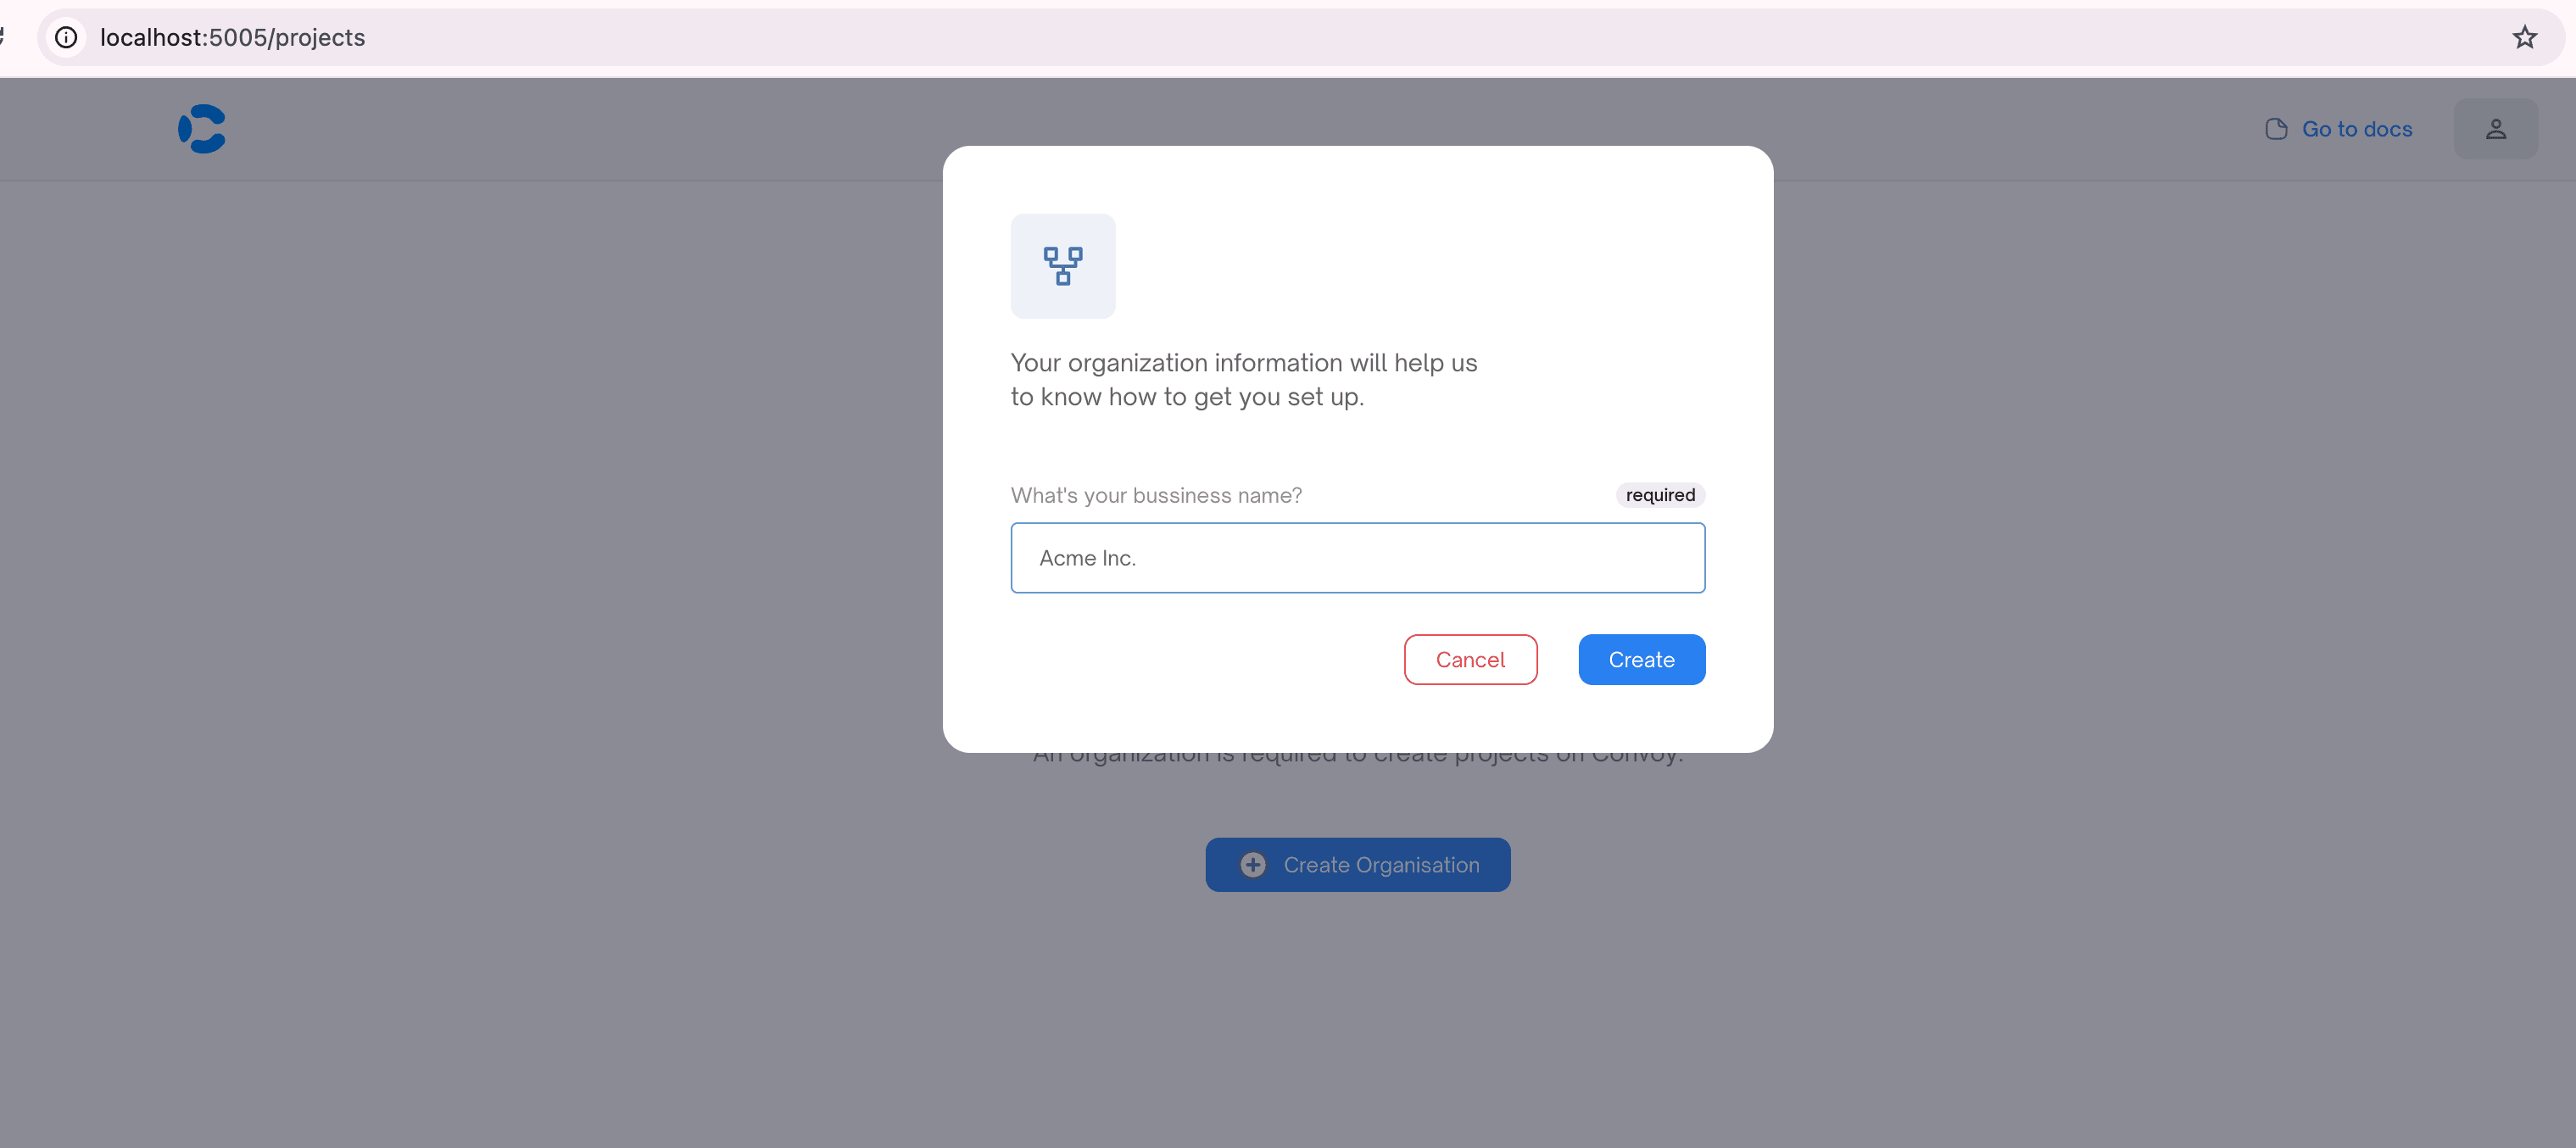
Creating a new Organization in Convoy.
Creating Your First Project
Inside every Organization are one or more Projects. Projects help you separate webhook traffic between different applications or environments.
For example, you might have separate projects for Production, Staging and Development. Or perhaps each of your products has its own project.
Each project maintains its own endpoints, API keys, subscriptions, events, and delivery history, making it easier to keep environments isolated.
Click New Project and create one called Payments API.
After creating your project, Convoy generates a Project API Key. Copy it and store it somewhere safe.
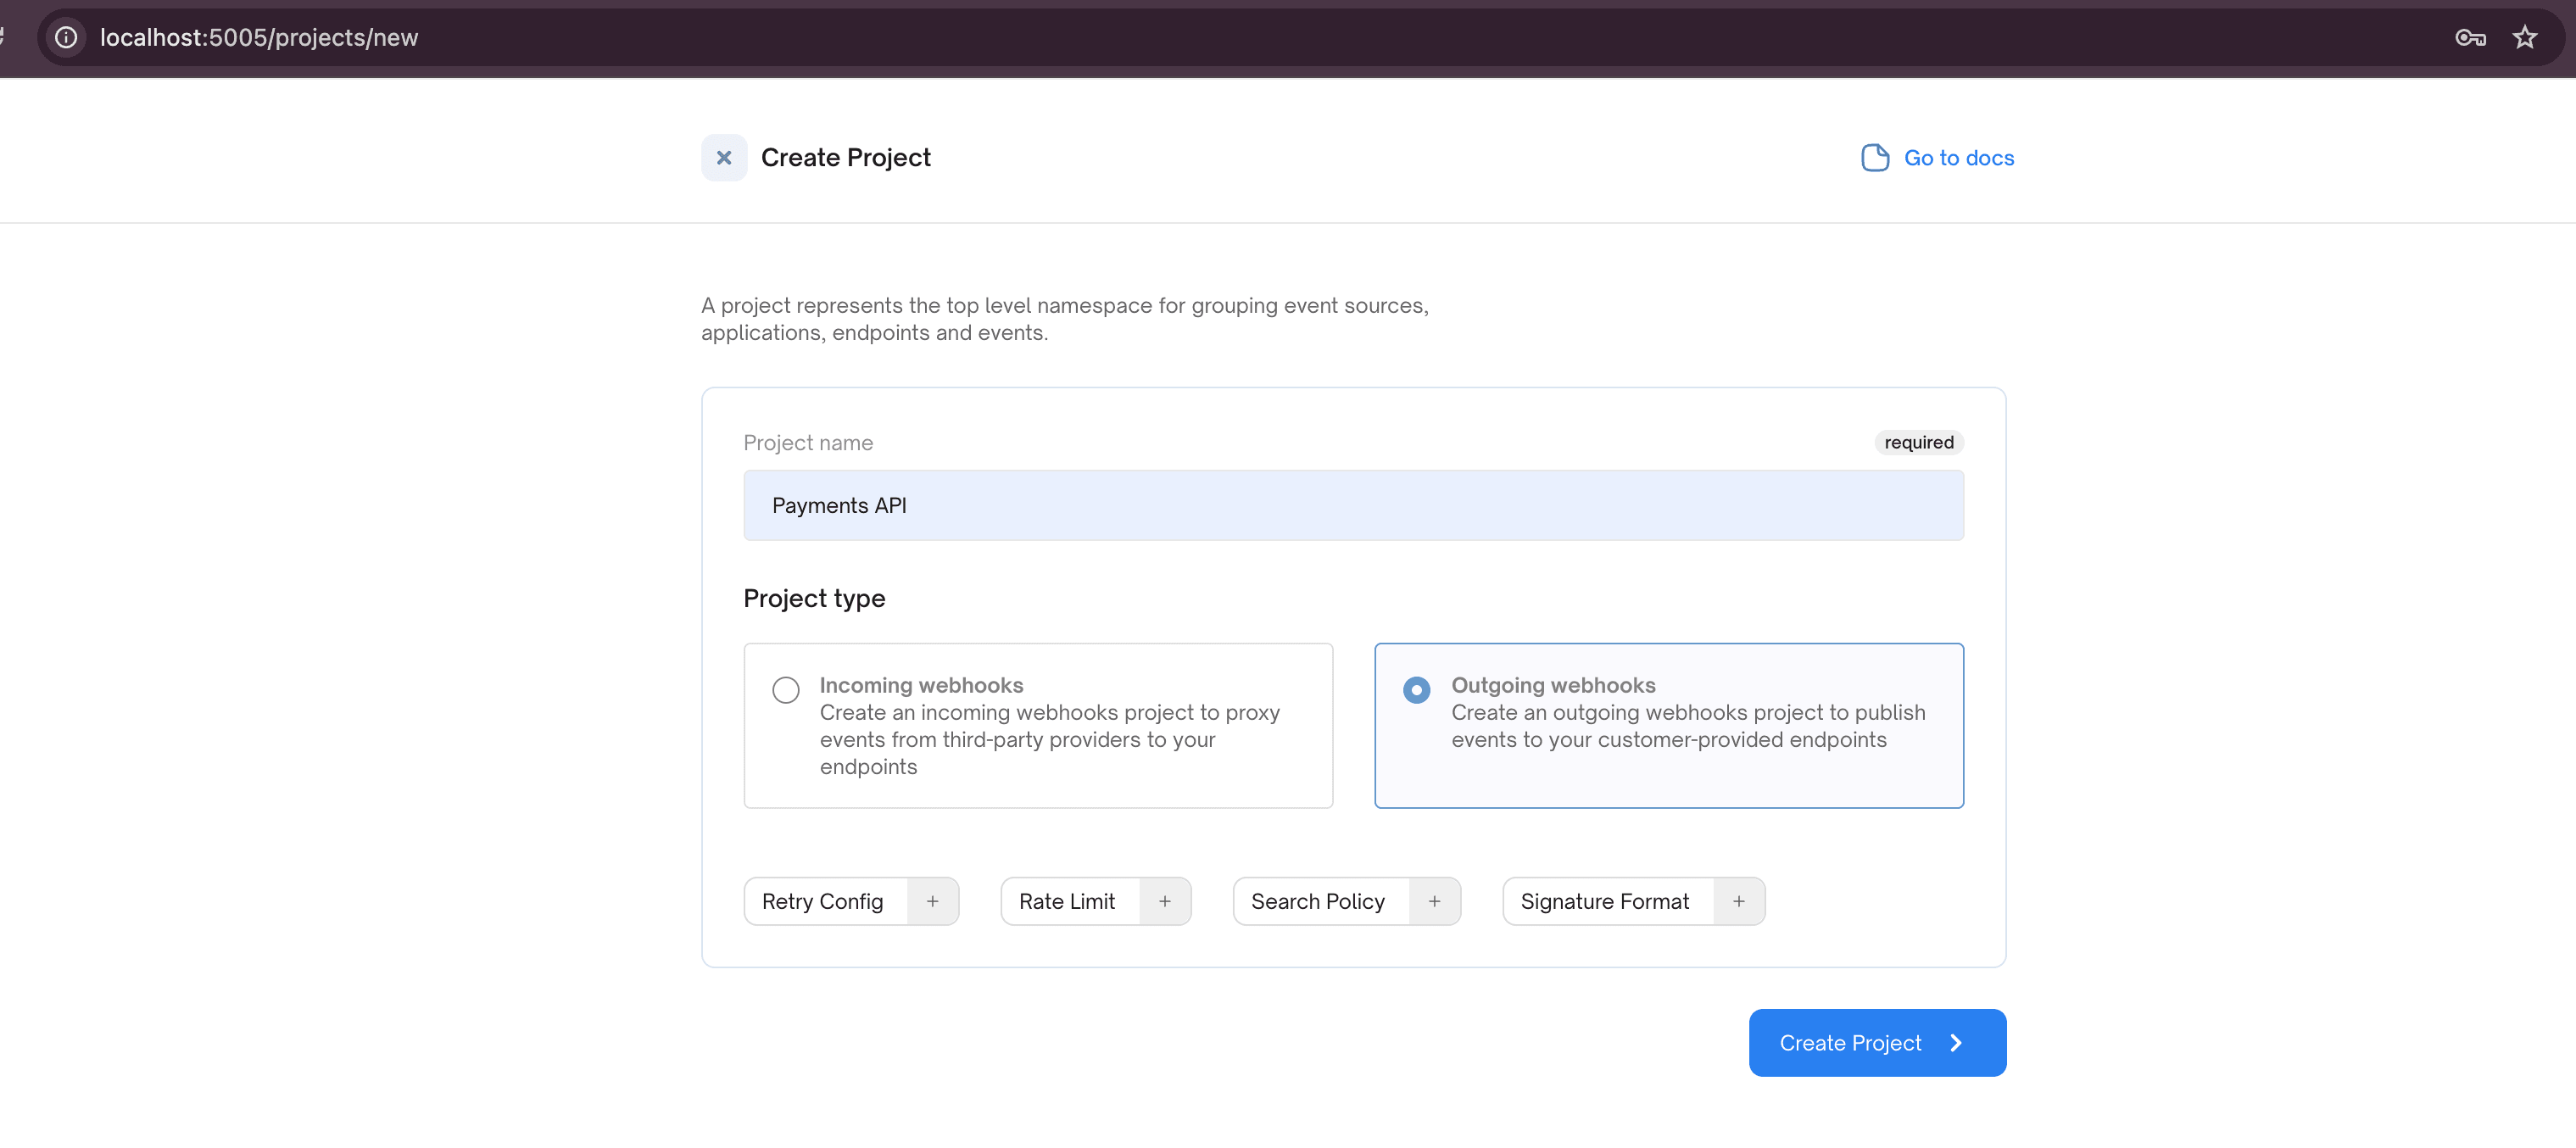
Copy your Project API Key and store it somewhere safe.
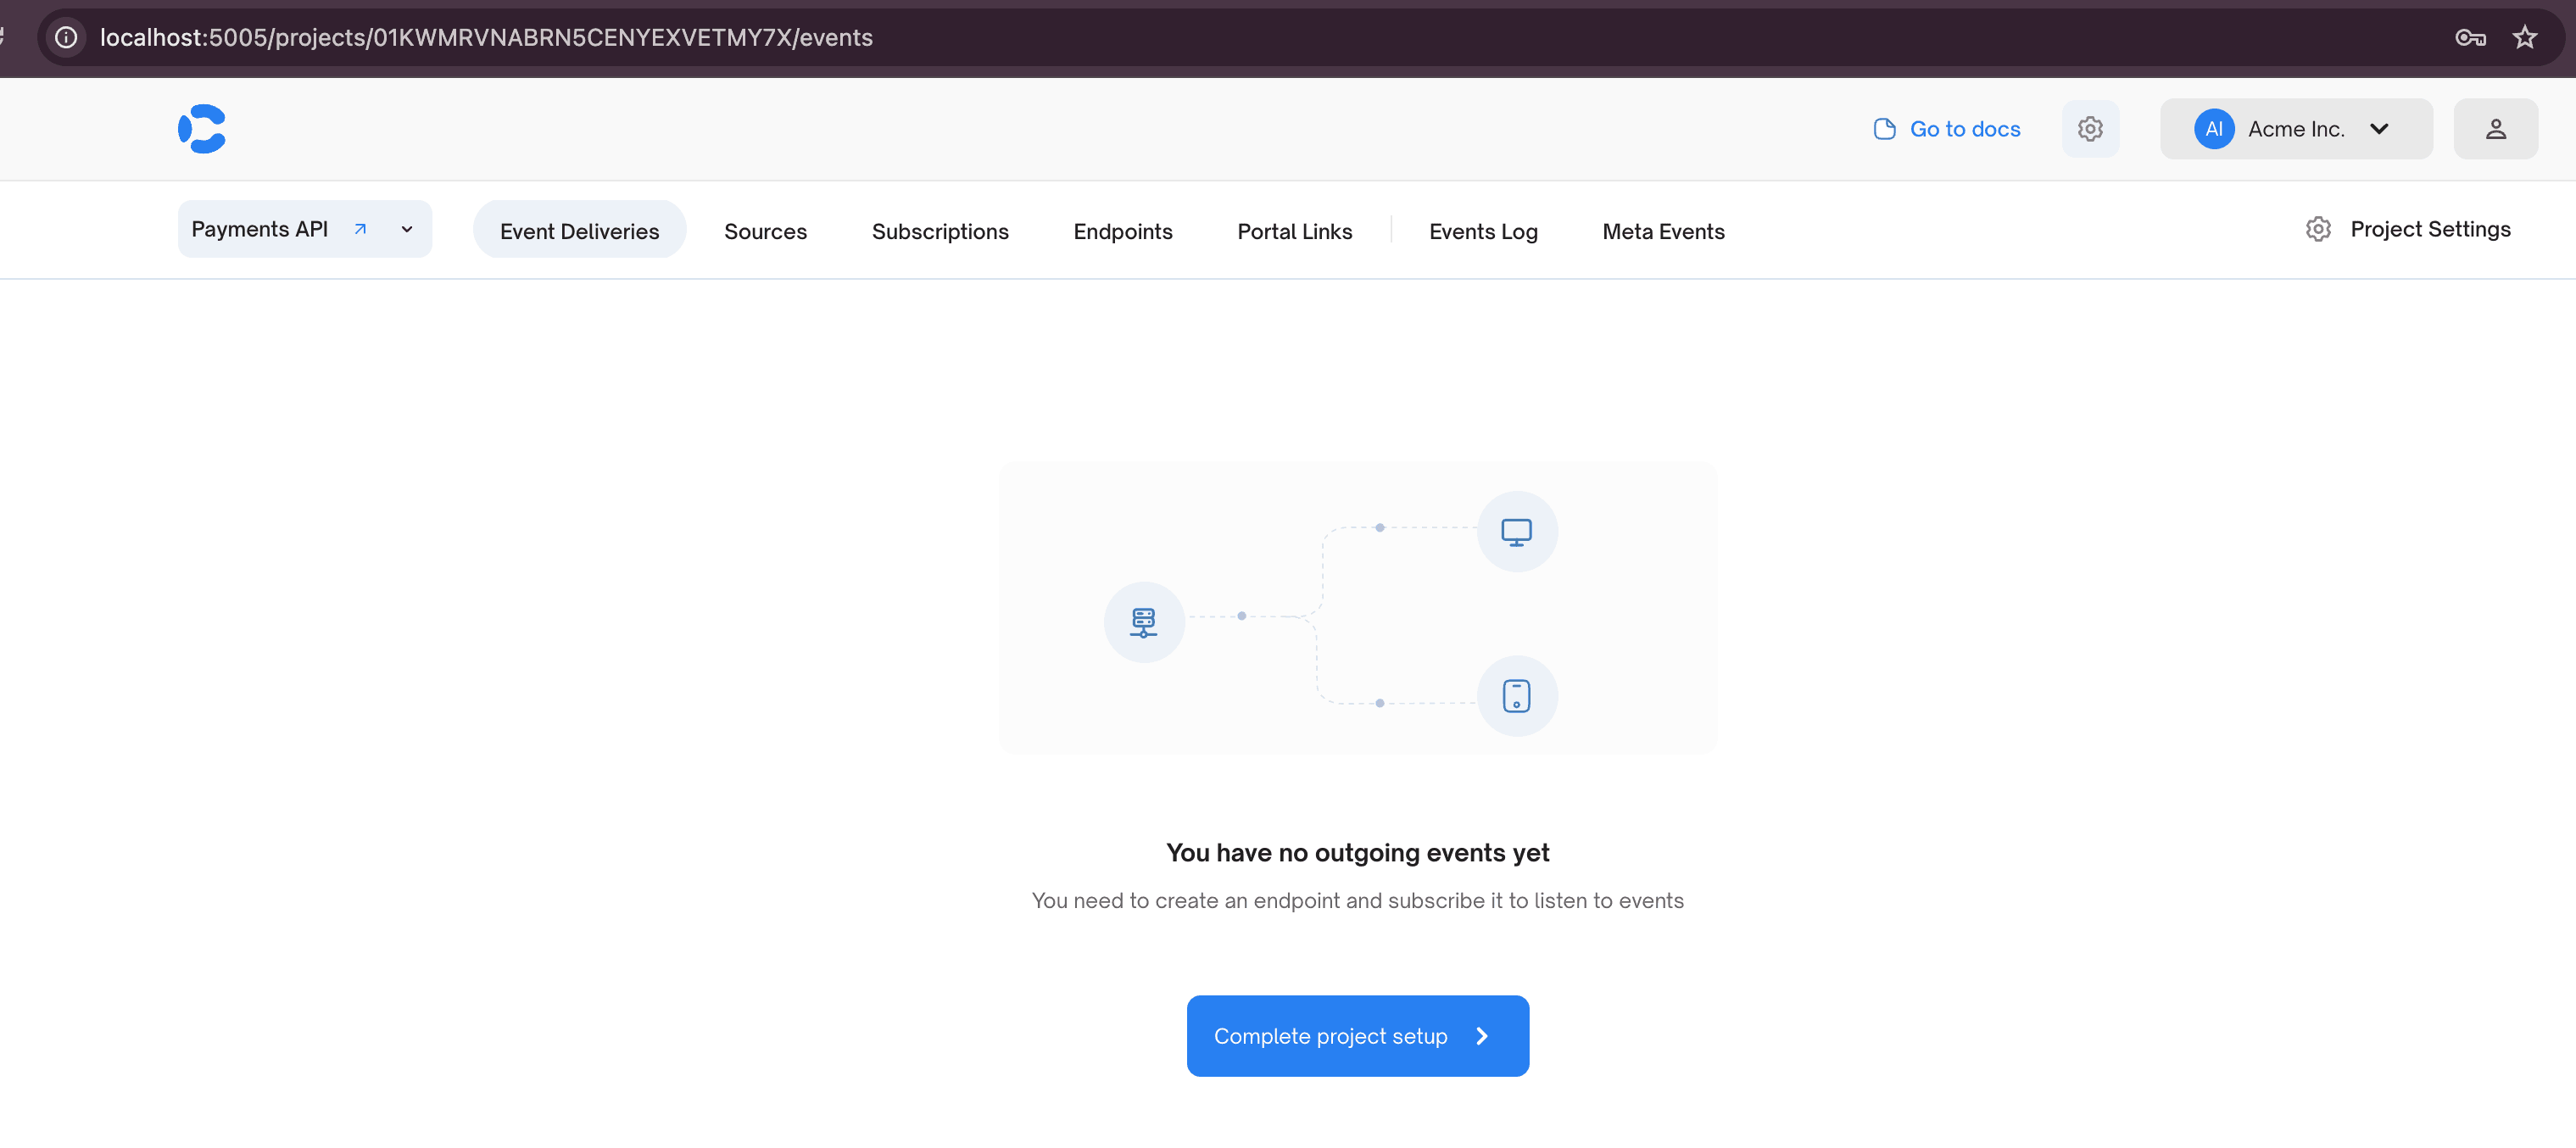
The newly created project dashboard.
Creating Your First Endpoint
Convoy is now running. Your project exists. But there's still one thing missing. Convoy doesn't yet know where to send webhook events.
That's where Endpoints come in. An endpoint is simply a URL that receives webhook requests.
In production, this would usually be one of your customers' applications. For this guide, we'll use Convoy Playground.
Convoy Playground is a lightweight tool that lets you inspect incoming webhook requests without writing any code. Instead of building your own application just to receive webhooks, Playground gives you a temporary endpoint where you can immediately see the payload, headers, timestamps, and delivery details.
It's the quickest way to verify that your self-hosted Convoy instance is working correctly.
Navigate to Endpoints in the dashboard and click Create Endpoint. Open Convoy Playground in another browser tab and generate a new endpoint URL.
It will look something like this:
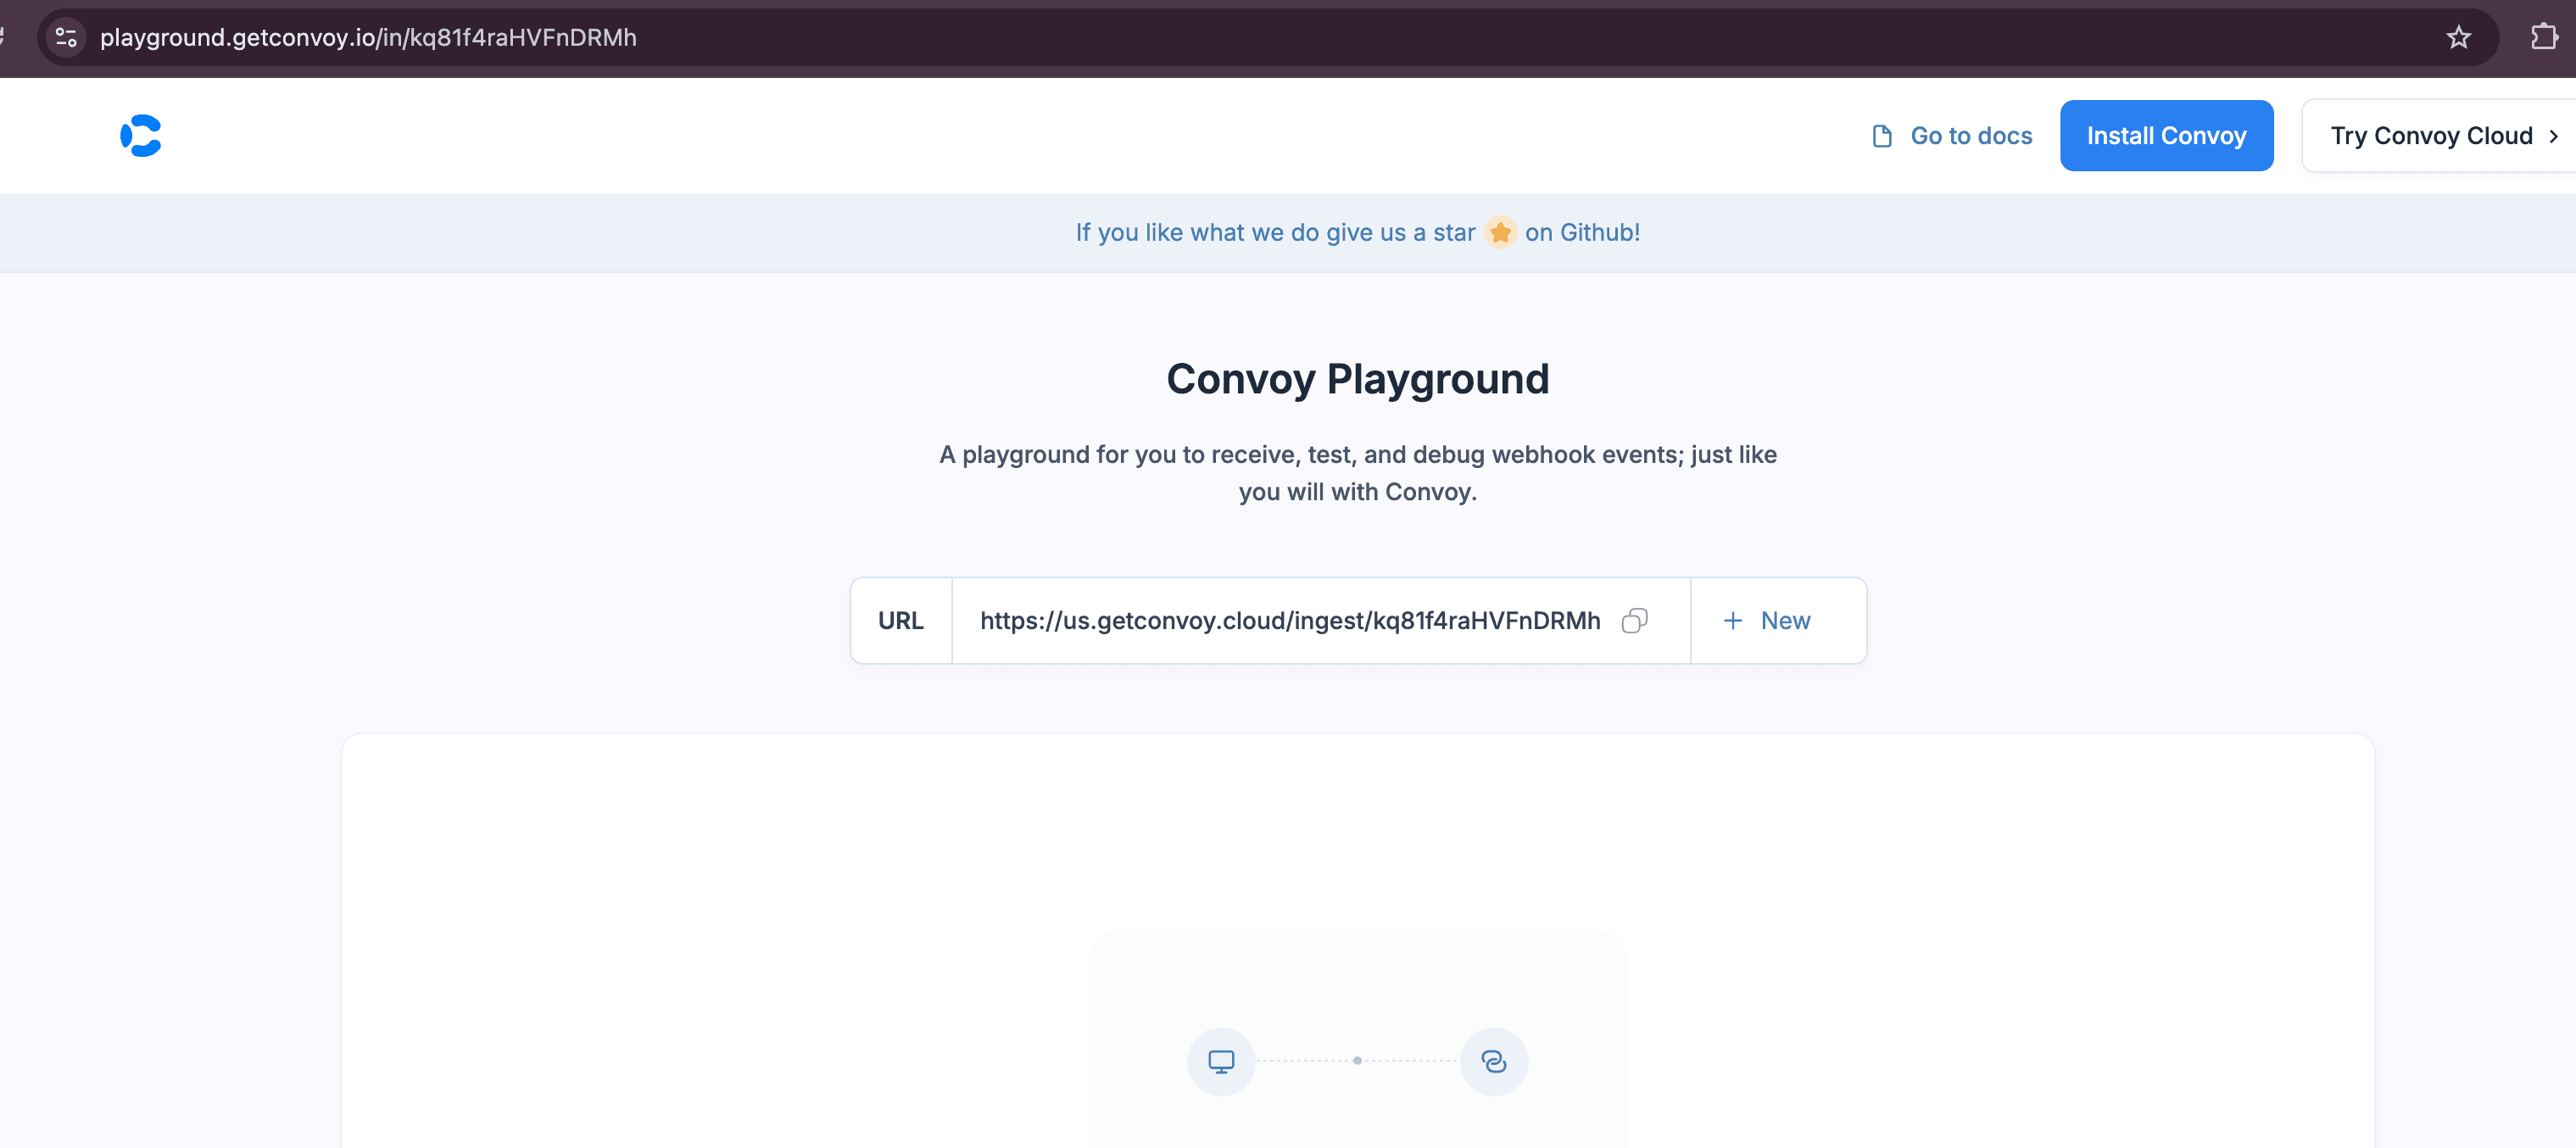
Generating a temporary endpoint URL in Convoy Playground.
Copy that URL and return to Convoy.
Complete the form:
- Endpoint Name:
Payments Service - Enter URL: Paste the Convoy Playground URL.
- Endpoint Secret: Leave this field empty.
If you don't provide an endpoint secret, Convoy will automatically generate one for you when the endpoint is created. This secret is later used to generate webhook signatures, allowing receiving applications to verify that requests genuinely came from Convoy and haven't been tampered with.
For this walkthrough, letting Convoy generate the secret is the easiest option. You'll also notice several optional settings such as Content Type, Timeout, Rate Limit, and Authentication. These let you customize how Convoy communicates with your endpoint, but the default values are perfectly fine for getting started.
Before continuing, make sure Automatically subscribe endpoint to all events sent is enabled. With this option turned on, every event published to the project will automatically be delivered to this endpoint. It's the quickest way to start testing without creating subscriptions manually.
When you're ready, click Save and Proceed.
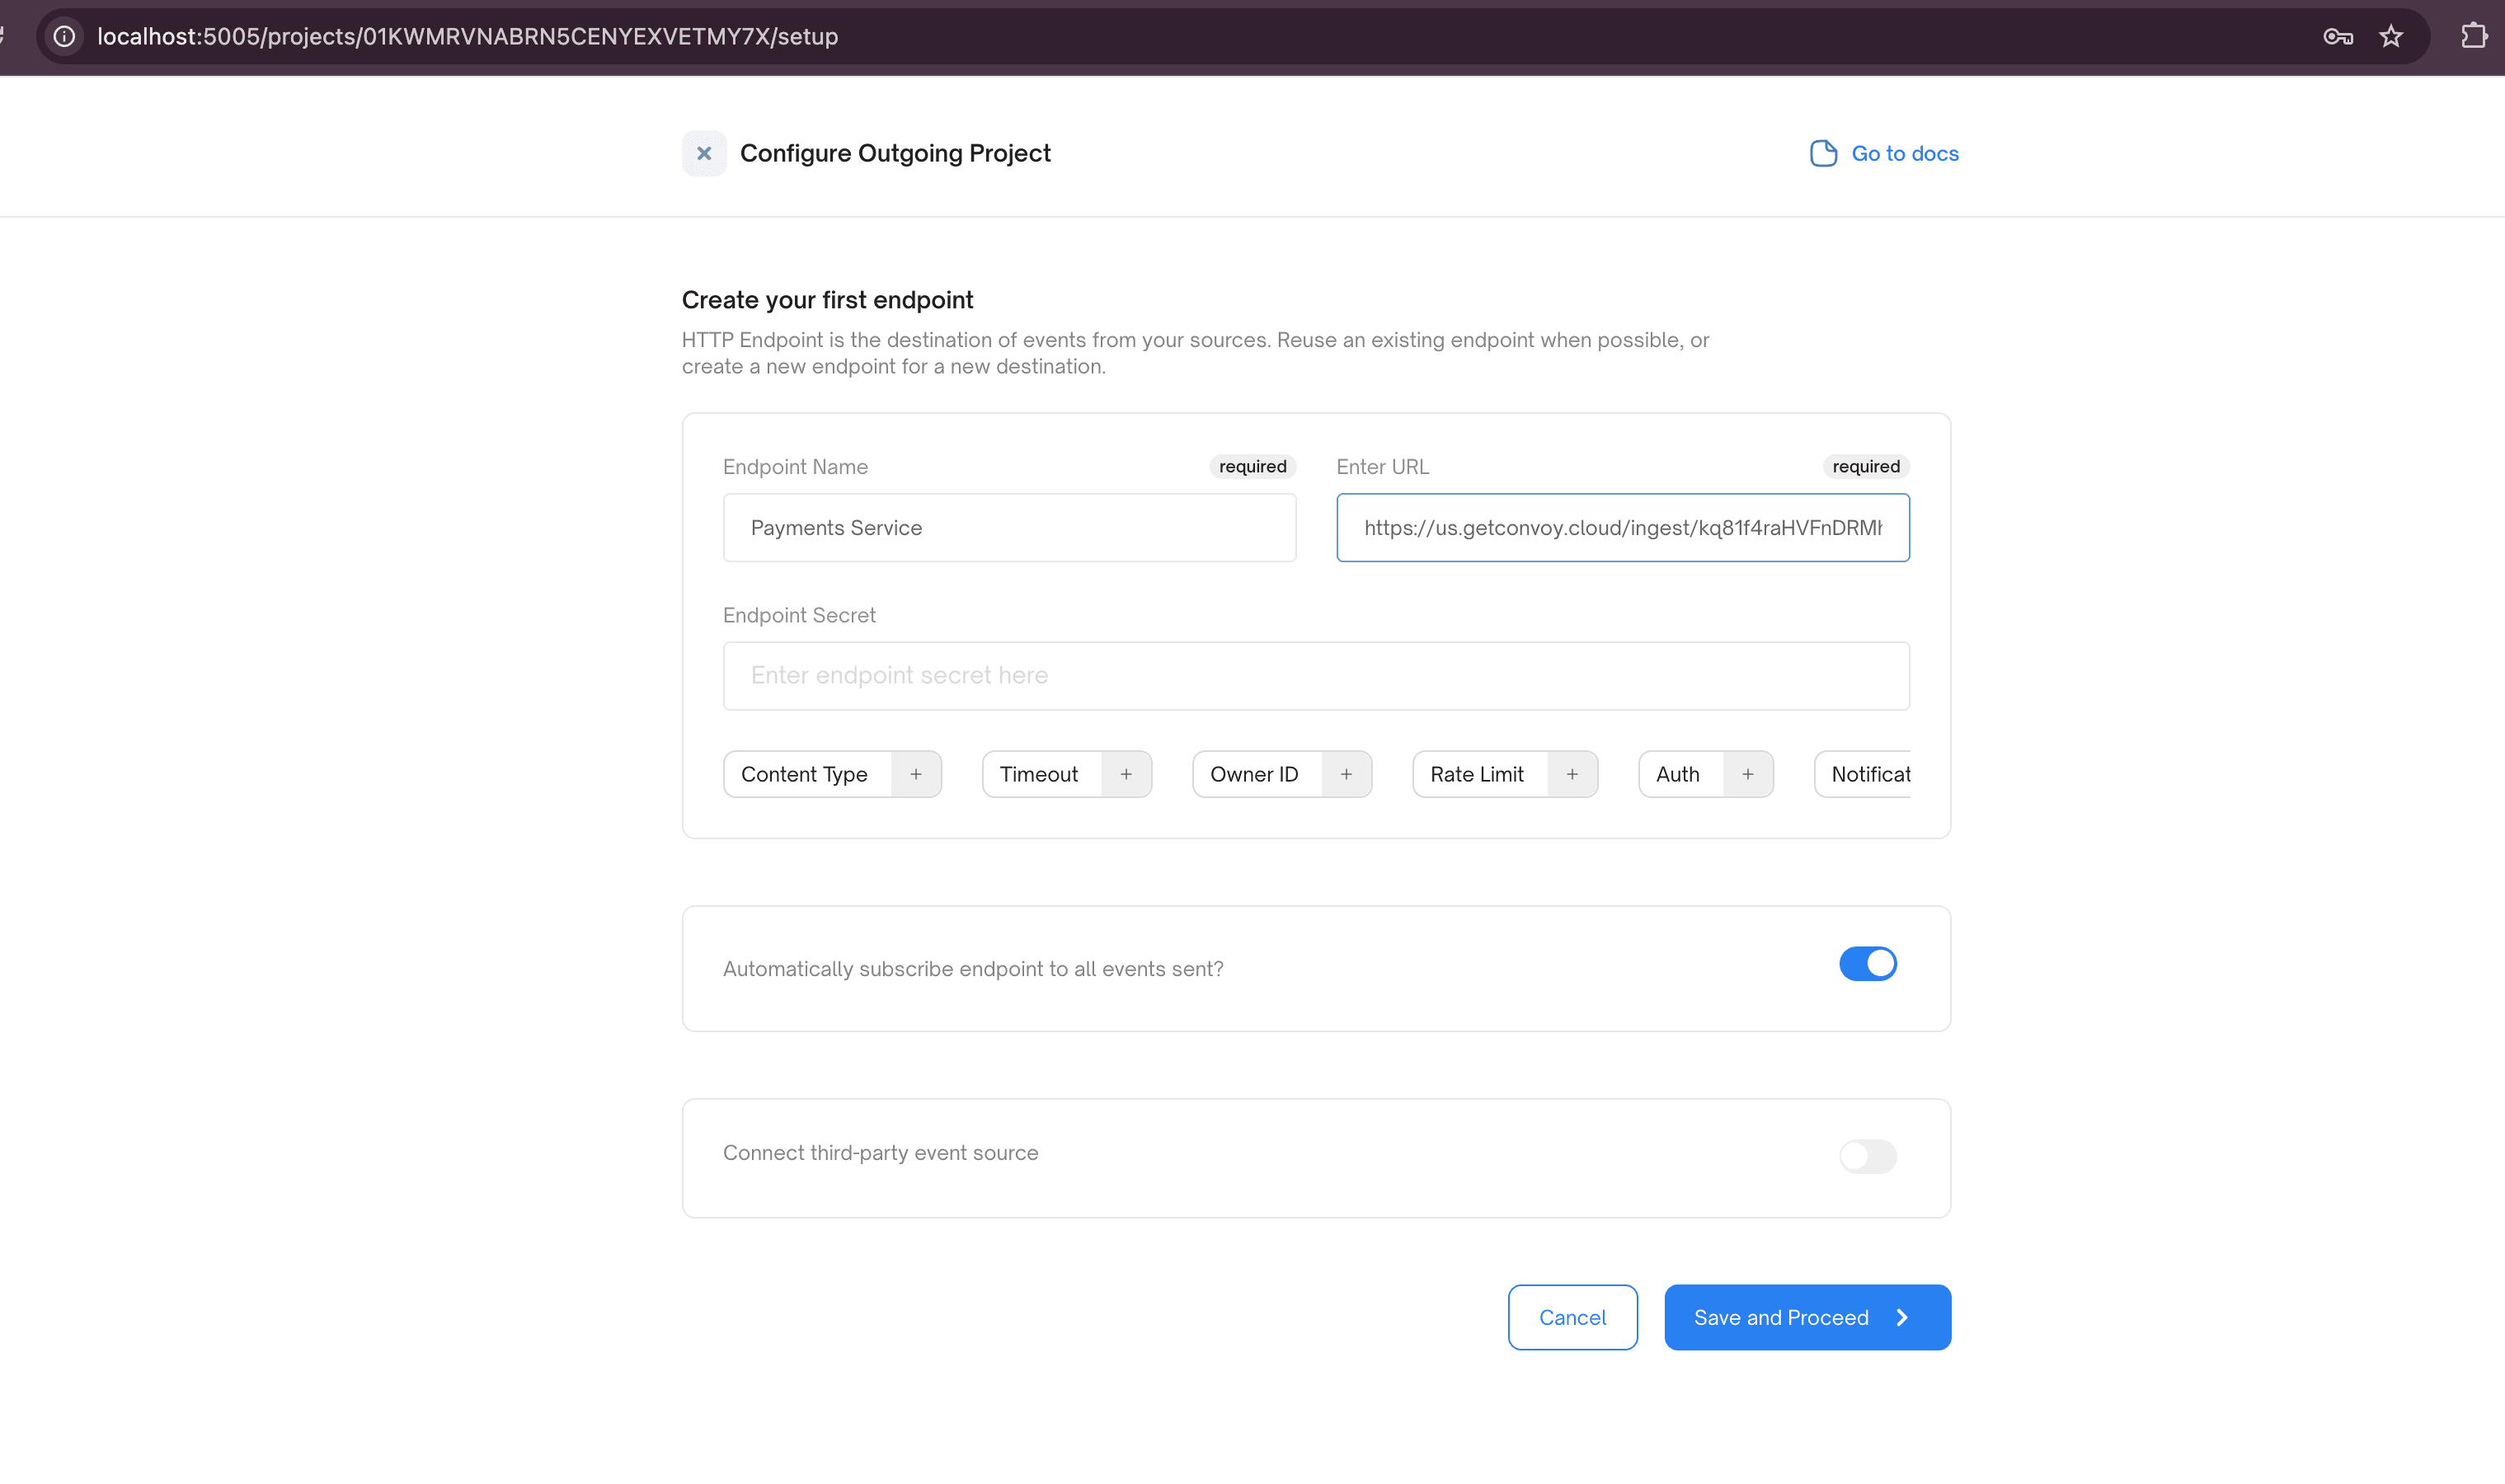
Creating a new endpoint using Convoy Playground.
Publishing Your First Event
Now for the fun part. Up until this point, we've configured the infrastructure that Convoy needs to deliver webhooks. The last step is publishing an event. In a real application, this request would come from your backend whenever something important happens—for example, when a payment succeeds or a new user signs up.
For this guide, we'll simulate that request using curl. Before continuing, you'll need three pieces of information from your project:
- Your Project ID
- Your Project API Key
- The Endpoint ID for the endpoint you created earlier
You can find the Endpoint ID by navigating to Endpoints in the dashboard and copying the ID displayed for your endpoint.
Run the following command, replacing the placeholders with your own values:
curl --request POST \
  --url http://localhost:5005/api/v1/projects/<PROJECT_ID>/events \
  --header "Authorization: Bearer <PROJECT_API_KEY>" \
  --header "Content-Type: application/json" \
  --data '{
    "endpoint_id": "<ENDPOINT_ID>",
    "event_type": "payment.successful",
    "data": {
      "customer": "Jane Doe",
      "amount": 50000,
      "currency": "NGN"
    }
  }'
If the request succeeds, Convoy queues the event for processing. The background worker then validates the payload, stores the event, creates a delivery, and dispatches the webhook to the configured endpoint.
Within a few seconds, refresh Convoy Playground.
You should see the payment.successful webhook appear, confirming that your self-hosted Convoy instance is successfully publishing and delivering events.
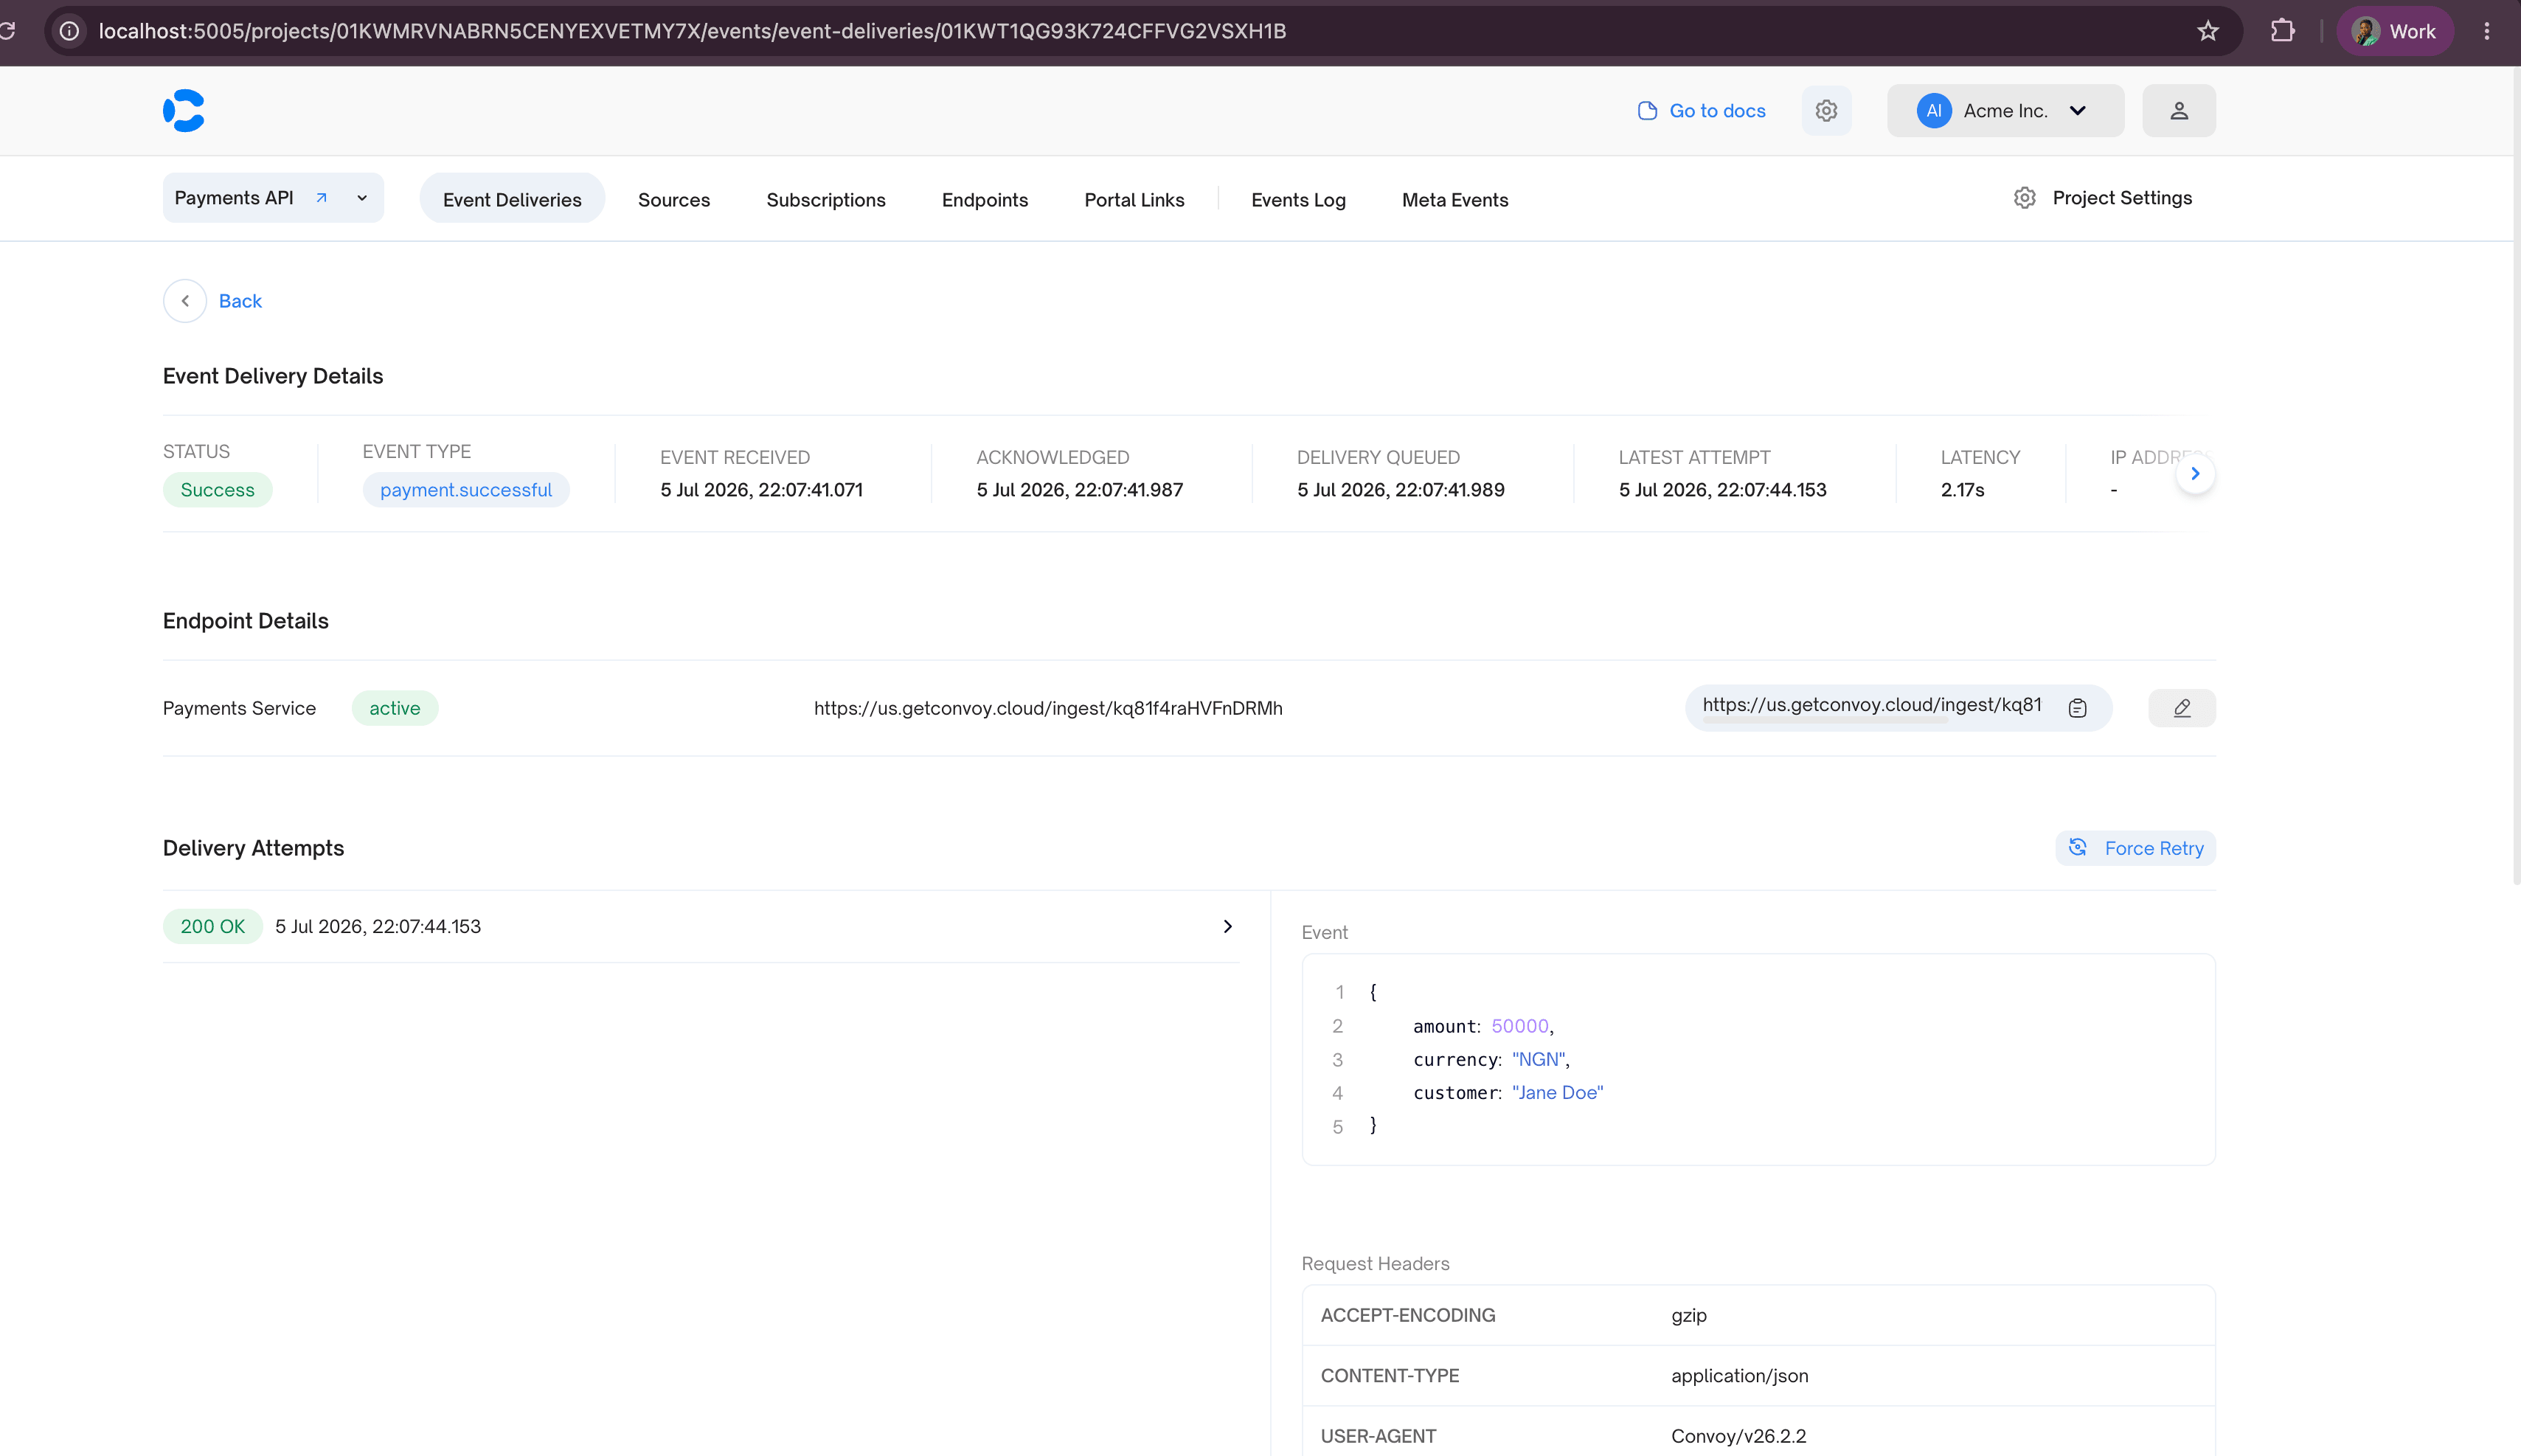
The event delivery we just tested via curl, received in Convoy Playground.
Verifying the Delivery
Now switch back to the Convoy dashboard. Navigate to Events. You'll see the event you just published. Click on it. Convoy stores much more than just the payload.
It also records metadata such as:
- Event type
- Creation time
- Associated project
- Delivery attempts
One important concept to understand is the difference between an Event and a Delivery.
An Event represents something that happened in your application. A Delivery represents an attempt to notify a specific endpoint about that event. This distinction becomes especially useful when one event needs to be delivered to multiple endpoints.
Imagine you have three customers subscribed to the same event. One event could produce three separate deliveries. That's why Convoy tracks them independently.
Navigate to the Deliveries page.
Here you'll find detailed information for every delivery attempt, including:
- Delivery status
- HTTP response code
- Response time
- Retry attempts
- Request headers
- Response body
- Payload
- Timestamp
Instead of wondering whether a webhook was delivered successfully, you have a complete audit trail showing exactly what happened.
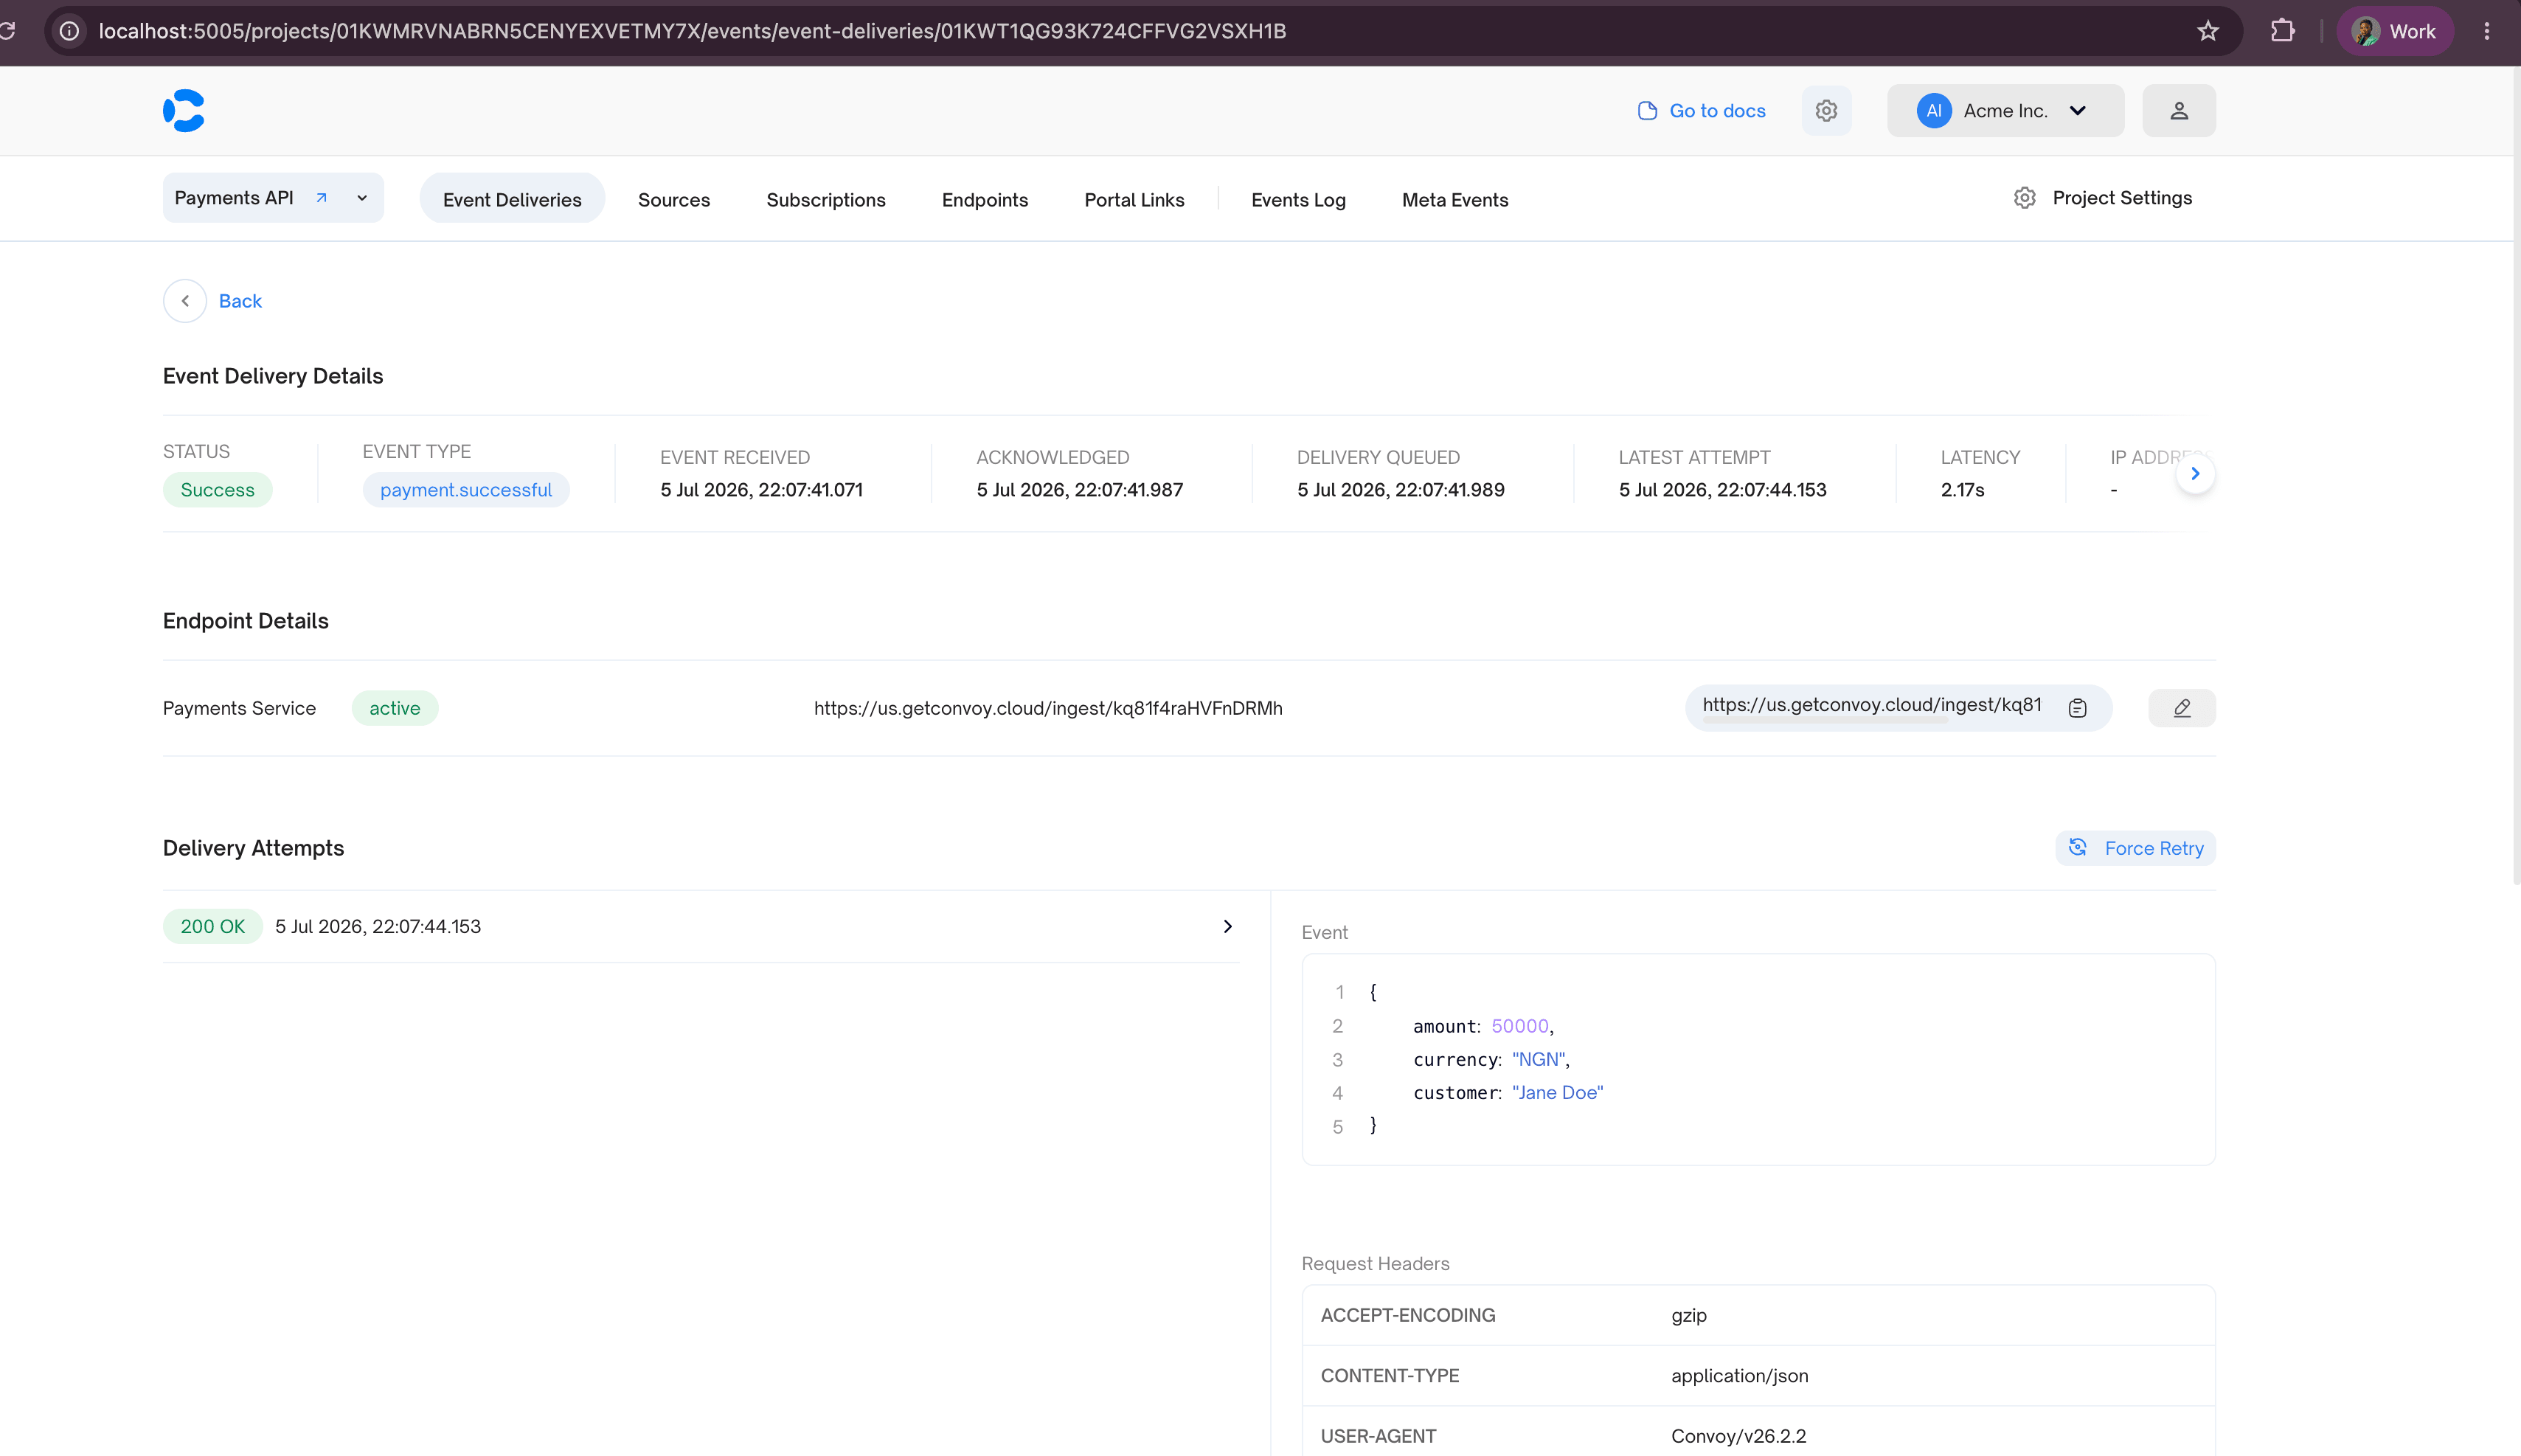
The Deliveries page showing a successful webhook delivery.
Troubleshooting Common Issues
If you've made it this far, there's a good chance your local Convoy instance is already running successfully. But no installation guide is complete without a troubleshooting section.
Even with Docker Compose handling most of the heavy lifting, it's normal to run into small issues, especially the first time you're setting things up.
Here are a few of the most common ones.
Docker isn't running
You execute:
docker compose up -d
and immediately see something like:
Cannot connect to the Docker daemon...
This usually has nothing to do with Convoy. It simply means Docker Desktop isn't running yet.
Start Docker Desktop, wait until it's fully initialized, then run the command again.
The dashboard won't load
If http://localhost:5005 doesn't open, start by confirming that the Web service is running.
docker ps
If the container is running, inspect its logs:
docker compose logs web
Startup issues are often caused by an incorrect configuration or a dependency that failed to start. Checking the logs is usually the quickest way to identify the problem.
Webhooks aren't being delivered
If your event appears in Convoy but never reaches Convoy Playground, there are a few things worth checking. Start with the Deliveries page in the dashboard.
Look at the delivery status, response code, and any recorded error messages. Next, inspect the Agent logs.
docker compose logs agent
Since the Agent is responsible for processing delivery jobs, its logs often provide valuable clues when something isn't working as expected.
Another application is already using the port
By default, Convoy exposes:
- 5005 for the Web service
- 9090 for Prometheus
If another application is already using one of these ports, Docker won't be able to start the affected container.
Either stop the conflicting application or update the port mappings in docker-compose.yml before restarting the stack.
Running Convoy in Production
This guide focuses on getting Convoy running locally, but before deploying to production, there are a few additional considerations worth keeping in mind.
First, you'll want to place Convoy behind a reverse proxy such as NGINX, Traefik, or your preferred load balancer so traffic is served over HTTPS.
Rather than running PostgreSQL and Redis as local containers, most teams use managed services to improve availability, backups, and operational simplicity.
Secrets such as license keys, database credentials, and API tokens should be stored securely using environment variables or a secret management solution instead of being committed to configuration files.
Monitoring is equally important. Convoy exposes Prometheus metrics out of the box, making it easy to integrate with Grafana or your existing observability stack. As traffic grows, these metrics become invaluable for tracking delivery latency, queue depth, retry rates, and overall system health.
Finally, as webhook volume increases, you don't necessarily need a larger API server. Because deliveries are processed asynchronously, you can scale by running additional Agent instances. This allows Convoy to process more webhook deliveries in parallel while keeping the API responsive.
Moving beyond a single machine? See Deploying Convoy in a K8s Cluster for running Convoy on Kubernetes with the Gateway API.
The architecture you've set up locally is designed with this kind of growth in mind.
Conclusion
Congratulations, you've successfully self-hosted Convoy.
Along the way, you've cloned the repository, configured the application, started the required services, created your first organization and project, configured an endpoint using Convoy Playground, and published your first webhook event.
More importantly, you've gained an understanding of how the different components work together to deliver webhooks reliably.
Self-hosting is knowing how the pieces fit together so you can confidently troubleshoot issues, monitor your deployment, and prepare for production. Whether you're evaluating Convoy for your team, experimenting locally, or planning a production deployment, we hope this guide has helped you get started with confidence.
Happy shipping! 🚀